

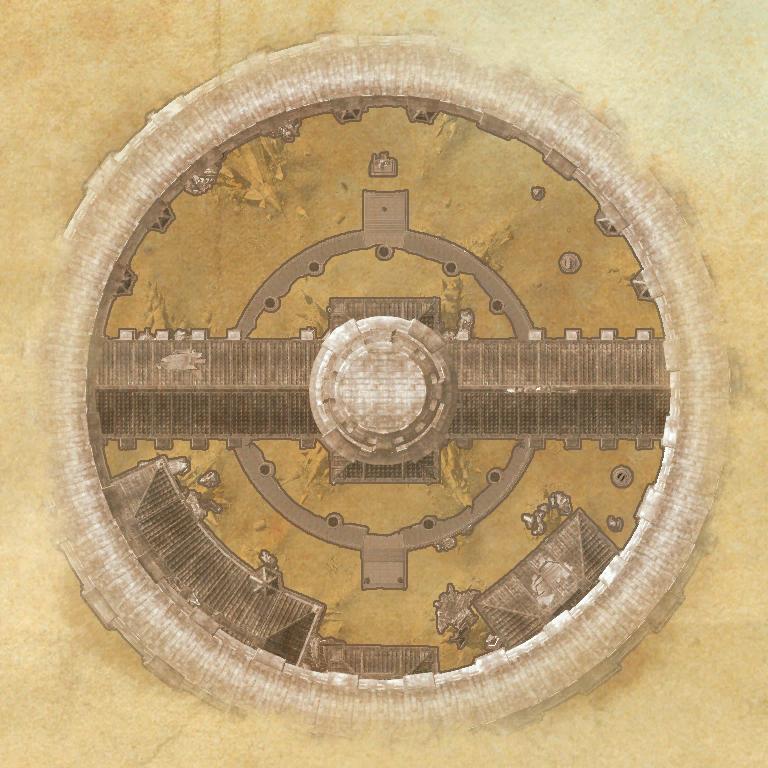
Imperial City Prison is a 4-man dungeon in Elder Scrolls Online. It is located Imperial City.
Veteran Walkthrough & Strategies
Overfiend
Level:
HP:
Boss Mechanics:
- Circle of Corruption – The skill is cast immediately after the boss displays the Red Sparks animation; that means you can interrupt it. The tank has to take responsibility for interrupting any Red Spark casted abilities. In case that he doesn't, a large circle will spawn below your feet that will immediately stun you for 2 seconds and deal a moderate amount of damage.
- Flurry – A front-facing cone-shaped attack, the Flurry deals immense damage to anything that is in front of the Overfiend. Particularly the party healers and damage dealers need to keep well away from that attack by positioning themselves directly behind the boss.
- Additional Spawns (Adds) – Adds spawn from both the cages and the portal behind the boss and are a priority in this fight. Owing to the frequency of adds joining the fight, if you don't focus them down immediately, the party can be very easily overwhelmed.
Strategy:
- The general strategy for this boss fight is to avoid the front conal-attacks while Tank keeps interrupting the boss's AoE Corruption Circle. While doing this, Damage Dealer's need to focus adds as a priority while being cautious of the bosses AoE. When the Overfiend reaches about 40% hitpoints, he will summon a Harvester to aid him. The harvester will obviously use her AoE spell (it can be interrupted) that needs to be interrupted by the tank while the rest of the party avoids the Circle of Corruption that the boss might cast. Interrupt both the Overfiend and the Harvester, deal massive area damage and be aware of your position and you'll be fine.
Ibomez the Flesh Sculptor
Level:
HP:
Strategy:
- Sludge Pool (Environmental Mechanic) - When you enter the room you will notice a giant pool of sludge in the center surrounded by devoted worshippers. On either side of the room are three doors that allow for adds to run into the fight. When the adds spawn, they will run straight into the pool of sludge and transform into Flesh Atronachs that deal massive amounts of damage.
- Frontal Conal Attack – A fairly standard frontal attack that deals a moderate amount of damage to any players in the area. Players need to either block or dodge/roll to evade the attack completely, be warned that blocking will still hit you with a Damage over Time effect.
- Tenderize – This is a fairly simple skill to deal with. When Ibomez casts Tenderize, he will rush towards a player at random and knock them down, pinning them in place. When the player is pinned in place he will attempt to cast a heavy charged hit that if left un-interrupted, will instantly kill the pinned down player. The heavy hit is interruptible and needs to be taken care of as soon as possible.
Gravelight Sentry
Level:
HP:
Boss Mechanics:
- AoE Explosion – The Gravelight Sentry will wrap his tentacles around his body and lower himself to the ground, after which he released a massive AoE explosion that deals massive amounts of damage and knocks back players as well. Block this skill when it coming!
- Necromancer Adds – The chamber in which the boss is situated will have Necromancers situated around it. These Necromancers will summon adds and cast their own set of damage dealing sets. Focus on the Boss and keep interrupting the Necromancers with ranged Crowd Control skills. Once the boss is down, kill these adds individually.
- Targeted Explosions – The third skill this boss has will target random party members and spawn a small circle that explodes and deals a large amount of damage. Block or dodge/roll away from it!
- Frontal Conal Lasers – A fairly straight forward attack where the boss shoots lasers in a cone-like shape directly in front of him. The tank should be the only one who takes this hit as the rest of the party is positioned behind the boss.
Flesh Abomination
Level:
HP:
Boss Mechanics:
- Ground Impulse – During the fight, the boss will frequently dig both his arms into the ground and start channeling AoE attacks on the entire group.
- Necrotic Hoarvars – The highest priority mechanic in the fight is one associated to the two Hoarvars that spawn every few seconds during the fight. Players need to deal massive damage to these adds and in the process avoid standing close to them.
- Kamikaze Hoarvars – Every 20 seconds or so the boss will relocate himself to the center of the room and summon 4 Kamikaze Hoarvars that will make a bee-line for each party member. Players need to dodge/roll and avoid these adds to stay alive – otherwise it's a one shot kill.
Strategy:
- Upon entering his chamber, you will see him standing next to two Necrotic Hoarvars. It is important to note that every attack this boss deals splashed damage to players in front of him – therefore find a place behind him and get comfortable. The basic strategy for this boss is to anticipate the mechanics and avoid as much damage as possible while laying consistent damage on the boss or the adds if they are alive.
Lord Wardens
Level:
HP:
Boss Mechanics:
- Energy Spheres – The boss will constantly be dropping blue energy orbs all over the battlefield and if you are too close to them, they will deal damage over time as well as sap your entire mana pool with each tick.
- Meteor Strike – A randomly summoned meteor that will target at random, one player in the party is fairly easy to deal with. You must block this attack ensuring that you take no damage.
- Portals – During the fight The Lord Warden will summon two portals on the ground that allows players (one portal allows two players) to teleport to the sky and drop down onto the fight area. When you spawn in the sky, you will be prompted with a synergy that MUST be clicked to avoid excessive damage from the fall. Players need to time the entry into the portal immediately after the boss flies into the air and splits up into 4. If you fail to enter the portal in time, you will be instantly killed by Dark Light.
- Flurry Attack – The Lord Warden will trigger a rapid attack that will do area damage to anyone who is standing in front of him. Ideally, tank needs to eat this damage while sharing it with other party members (damage will be equally divided per number of people attacked).
- Image Split – At 60% and 30% the boss will split himself up into four images and place them on either side of the room in a square formation. These adds will constantly be dealing ranged damage to the party and need to be killed in a particular order. Only one of the shades (in corporeal form) is attackable initially, so pick it out and move to the rest.
Wardens Bodyguards
Level:
HP:
Strategy:
- Players will face four bosses; The Lord Warden's Knight, Lord Warden's Berserker, Lord Warden's Templar and Lord Warden's Necromancer. The four bosses have pretty much the same skills as Dragon Knights, Templars, Night Blade and Sorcerer so you can expect everything.
Trivia
- ??
Imperial City Prison Information
- Location: Imperial City
- Suggested Level: VR14
- Final Boss: Lord Wardens
- Achievements:**
Achievements
- ??
Quests
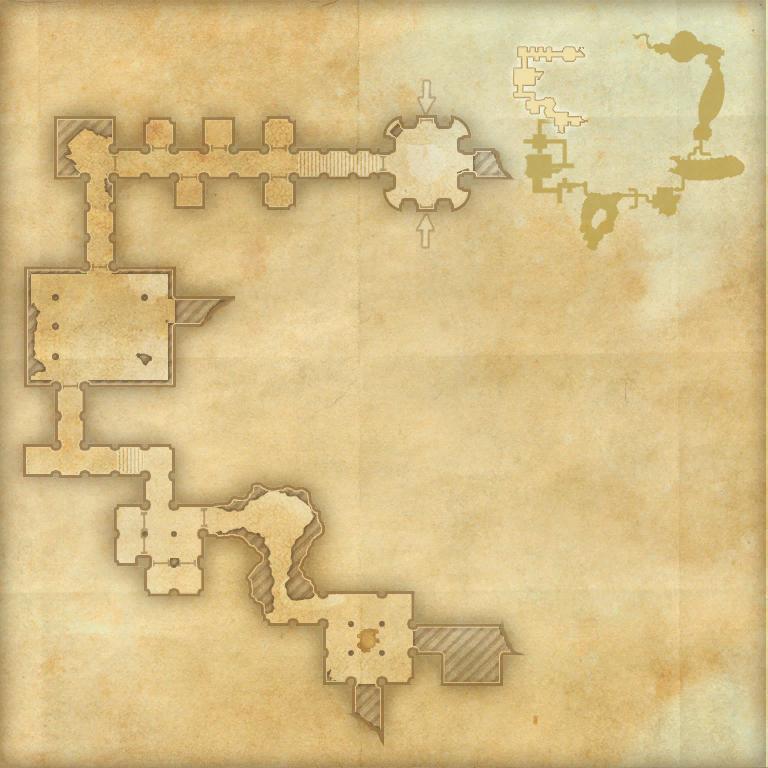
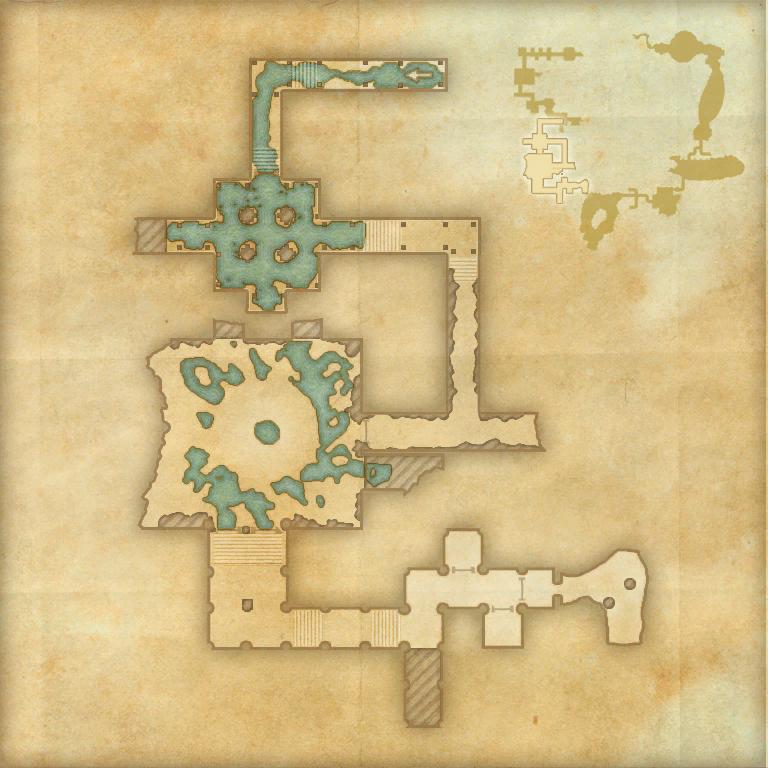
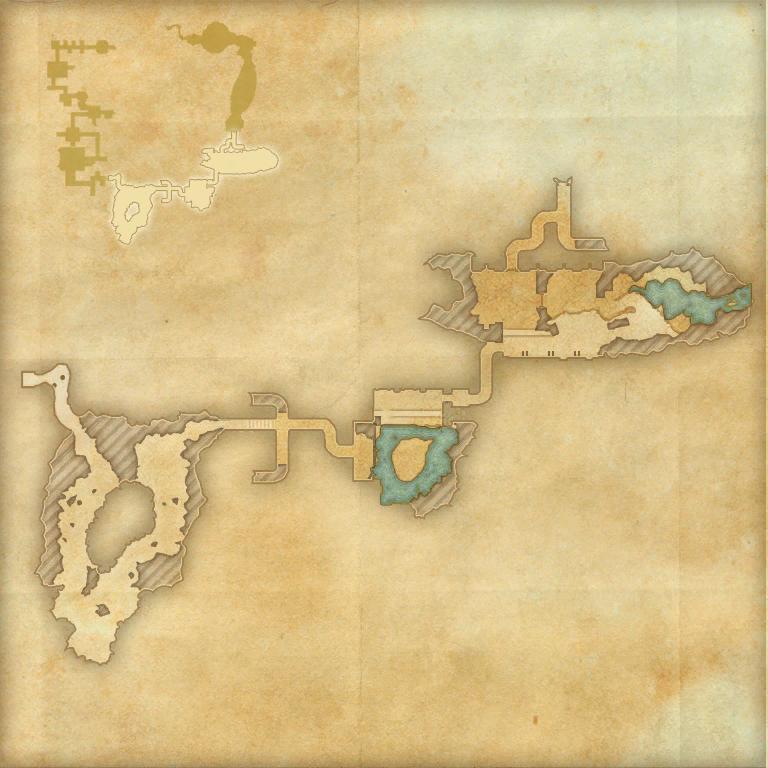
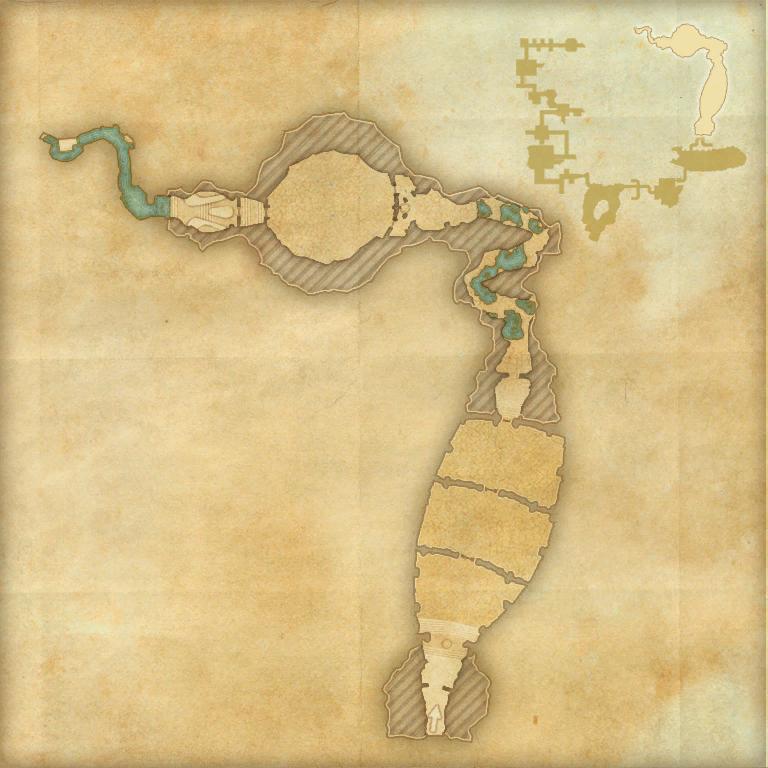
Imperial City Prison Map
Bosses
Set Drop
- Leeching Plate
- Scathing Mage
NPCs in the area
- ??
Notable Items
Enemies
- Dremora
- Xivkyn
- Mind-Shriven (various types)
- Daedrats
- Watchers
- Necrotic Hoarvor
- Harvester
- Flesh Atronach
Load more