

Bloodroot Forge is a 4-player group dungeon located in Craglorn in The Elder Scrolls Online. It is part of the Horns of the Reach DLC. It features Normal and Veteran Modes.
Bloodroot Forge Veteran Walkthrough & Strategies
This is a challenging dungeon in Veteran modes. Players should form a well-geared party at endgame level.
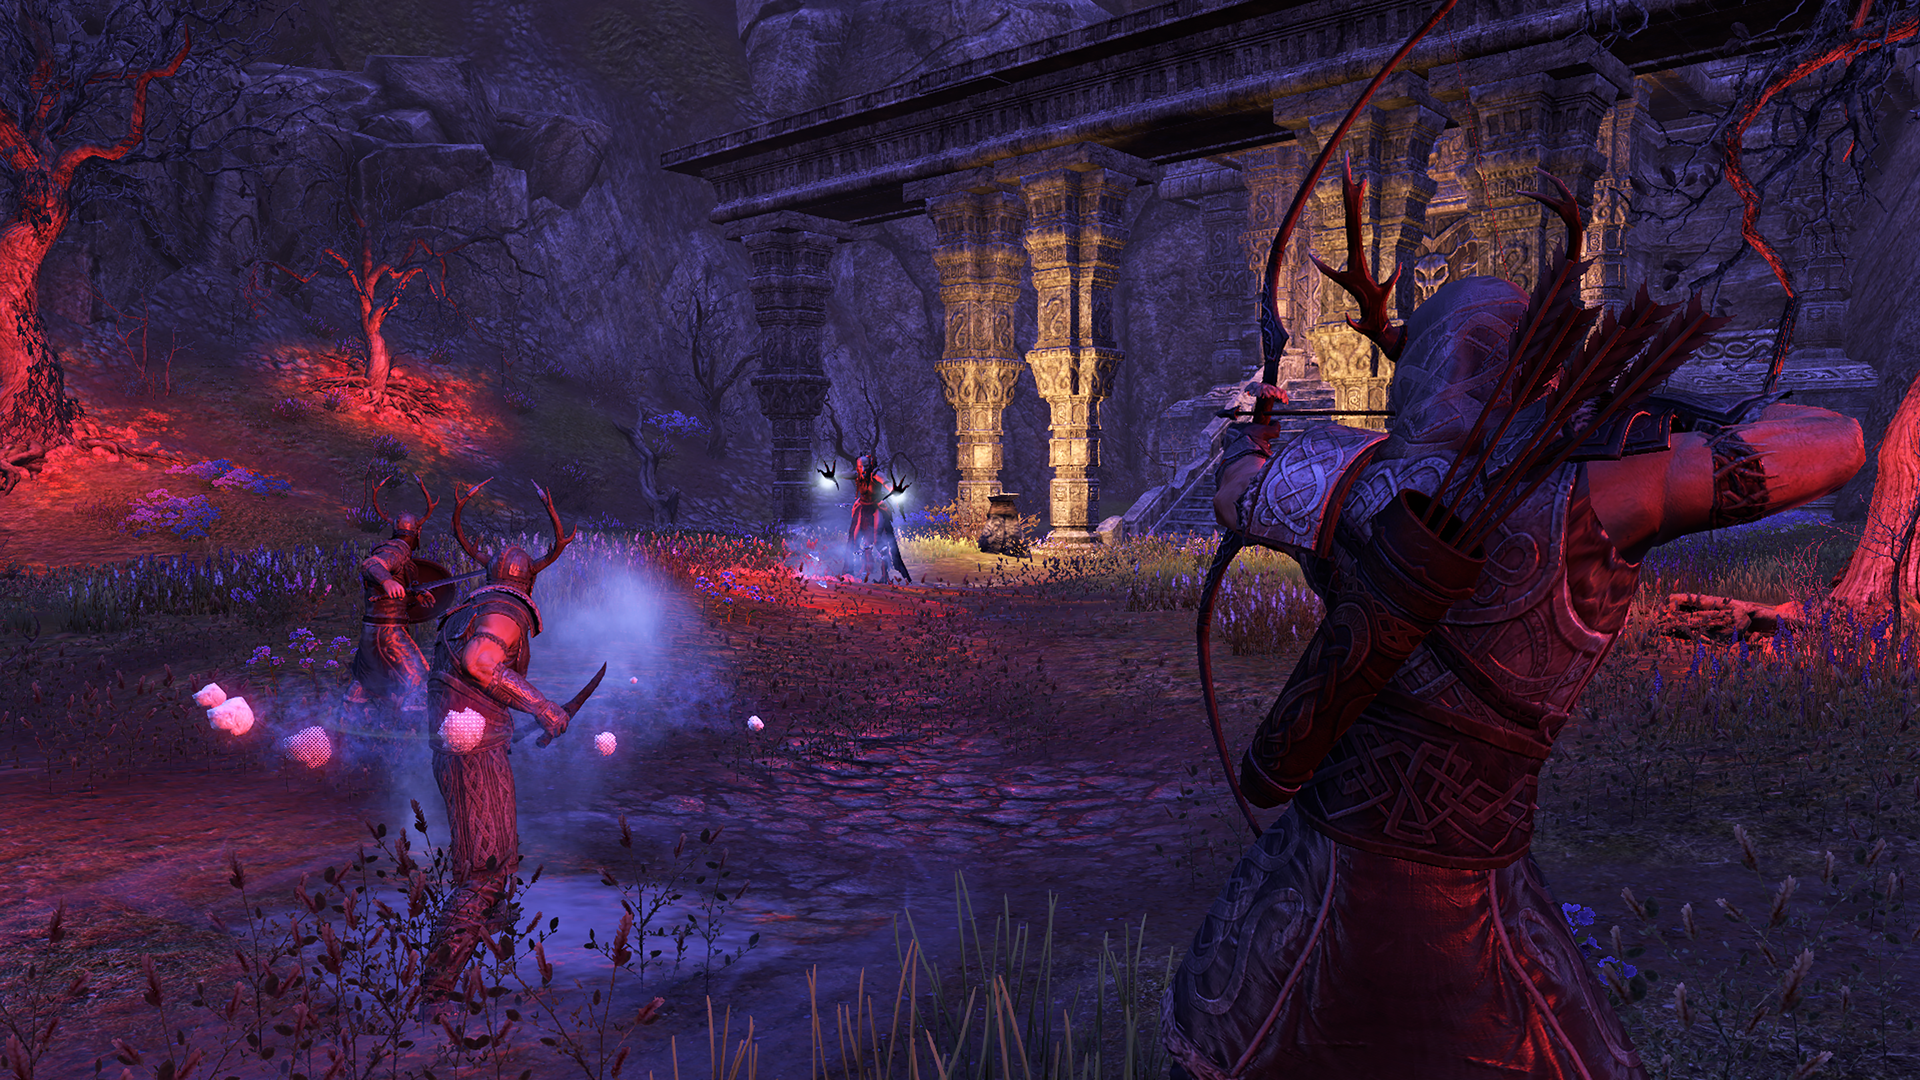
"Something primal has awoken deep within the rocky steppes of Craglorn, and the forgotten flames of the Bloodroot Forge have been restoked by the blood rites of the Dreadhorn Clan. Bloodroot Forge is one of the new dungeons found in the Horns of the Reach DLC game pack, and it offers a brand new adventure for your group along with a host of new gear, collectibles, and other rewards. Want to find out more? Read our preview below!"
Suggested group composition for Bloodroot Forge
- 1 Tank
- 1 Dedicated Healer
- 2 Ranged DPS
During the dungeon, you'll encounter Fire Shalks, and a notification that "The Fire Shalk targets you with Fire Ball". This looks like a red ball in the ground and you have to out-run it or you will be caught, stunned and killed by it. Blocking and shielding isn't likely to work for anyone except the tank, but you can dissipate the fire balls if you jump on the platforms surrounded by lava.
You will also encounter four challenging enemies that teach you game mechanics:
- Strangler: These enemies put a poison dot at great range. They have lw health, kill them first!
- Fire Shalk: These enemies put a tracking "fire ball" on a member of your party - you must run it into a lava pit to dissipate before it reaches you.
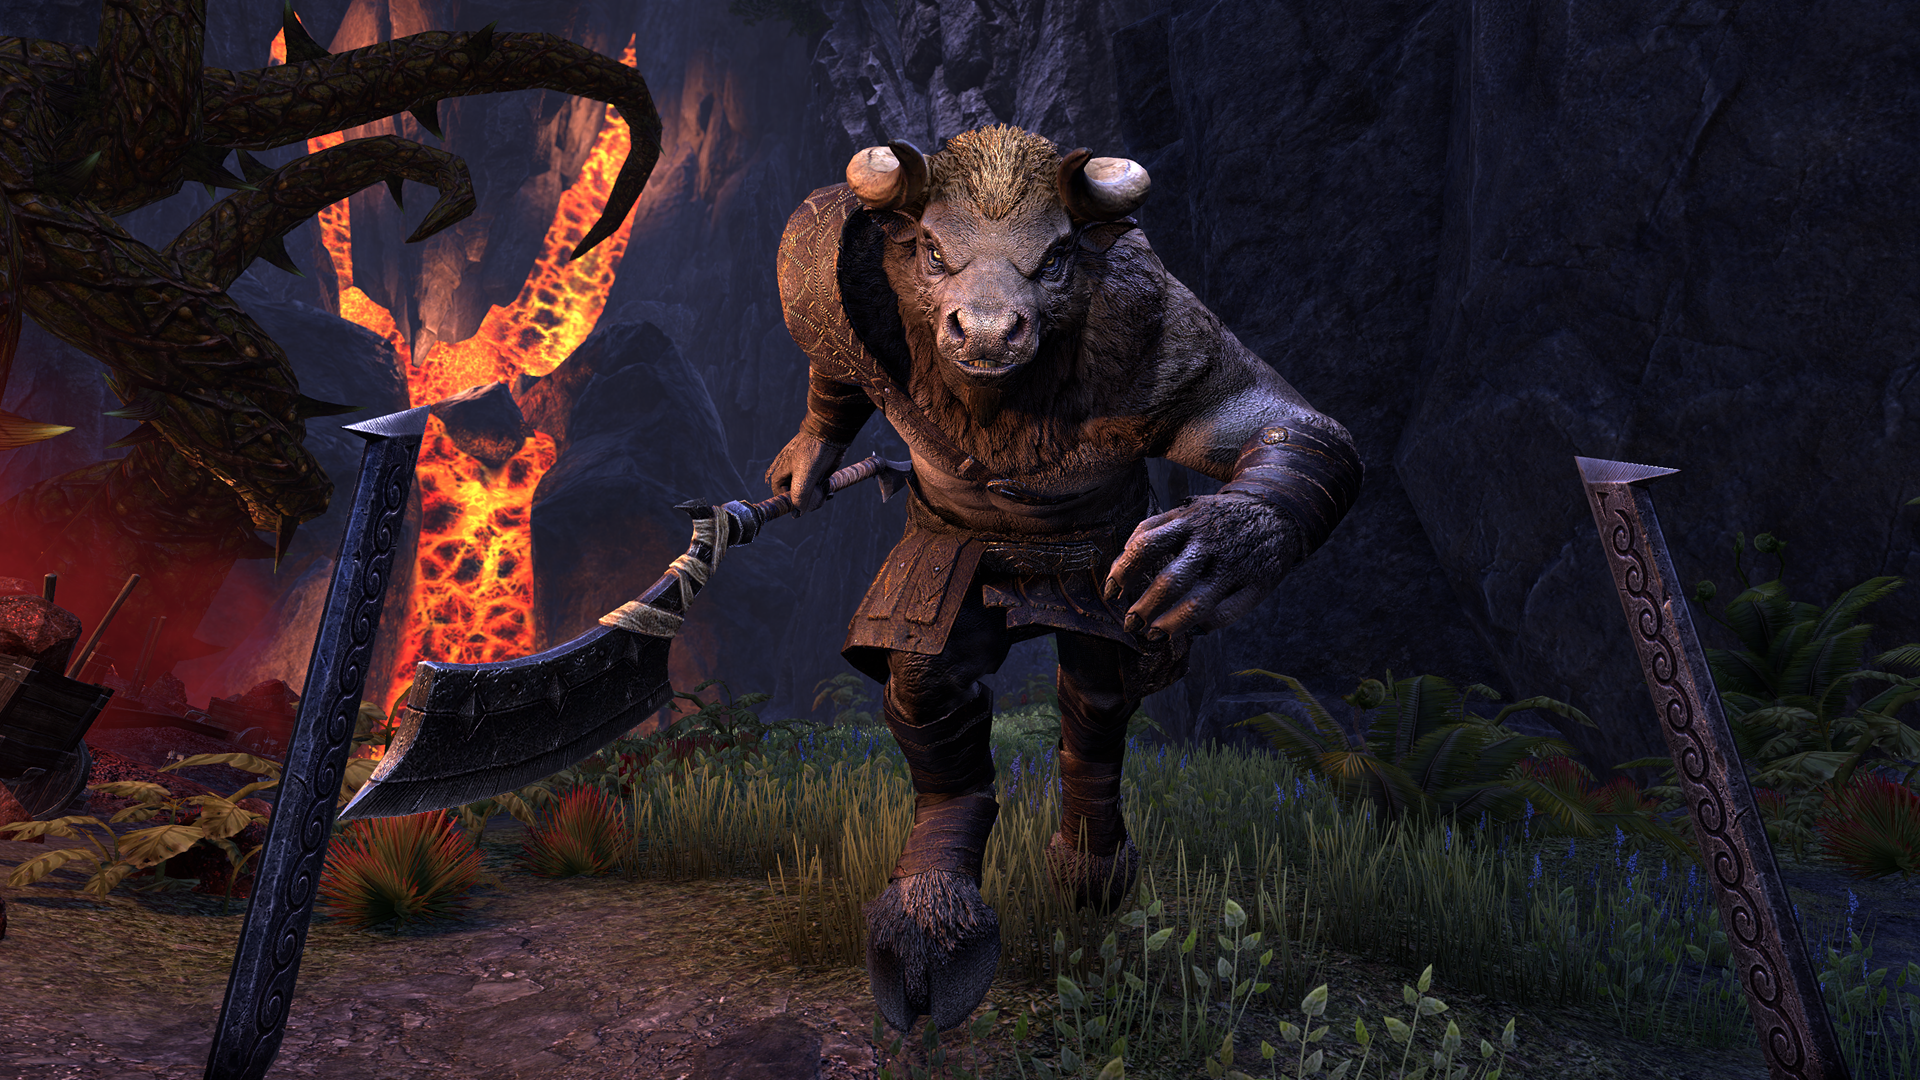
- Dreadhorn Earthgorer: This minotaur will smash the ground and open up a small volcano / geyser. The tank must stand on it and "plug" the outgoing fireballs, soaking the damage - or the DPS will go down
- Dreadhorn Firehide: This minotaur chains and locks down two party members, and must be interrupted during a channeled cast or will kill them. Make sure to keep an eye on them and dispose of them first.
Mathgamain
Level:CP 160
HP: ??
Strategy:
This is a simple boss with quite a few adds, but not very challenging. The boss spawns poisonous stranglers, which can be a priority if the group doesn't have ranged DPS.
The tank should have ranged taunts to gather the adds and ensure frontal AOEs are pointed away from the group - healer does not need to do anything special except watch out for the boss's seemingly random aggro breaks.
Caillaoife
Level: CP 160
HP:
Strategy:
This boss is more challenging than the first, but shares similar mechanics.
Mechanics:
- Health thresholds 75%, 50% and 25% trigger a special immunity on the boss and summons adds. The shield that appears can also knock back the tank and DPS. (But the thank can be inside the shield)
- Some adds must be defeated for immunity to falter.
- The boss casts a debuff on a group memeber (looks like an aura) and will target with attacks. Can be cleansed and dodged.
Tank: Get aggro on boss, point away from group and watch health thresholds. Call out each percentage and move away before the shield knockback. Get aggro on adds and point them away from the group
DPS: Single target on boss, watching not to get close in order to avoid shield damage. AOE on the adds, focusing on the Poisonous Stranglers, then bears first as they do the most damage
Healer: Keeping up the tank through the add phase can be difficult. Cleans DPS allies to keep your resources up
Stoneheart
Level:CP 160
HP:
Strategy:
This boss is actually challenging on Veteran is the group is unaware of the mechanics - so take the time to explain.
Mechanics:
- Fire AOEs on tank.
- Teleports to other side of arena
- Summons Stone Atronachs that create ground knockback aoes under all players. These are very deadly!
Tank: Get aggro on boss, point away from group and watch for the teleport - be ready with a range taunt to get the Stone Atronachs on you. Call out 25% as "execution point"
DPS: Single target on boss, but absolutely switch to defeat the Stone Atronachs as soon as they spawn. After 25%, the extra adds are difficult to take on so save AOE ultimates for this part, and execute the boss as fast as possible
Healer: Heals for party members struck by the stone enemy AOEs will be necessary. Keep your healing ultimate for the last 25%, or if not necessary use a DPS ultimate to help your group execute.
Galchobhar
Level: CP 160
HP:
Strategy:
This boss will be the first true test to whether your group can defeat this dungeon. Make sure your food is keeping, your potions are sloted, and prepare with fire resistance if a vampire.
Mechanics:
- Surrounded by molten nirncrux (deadly lava) with rocks that break around it
- Spawns a Fire Shalk that targets players with "Lava Ball" - you can counter this by guiding the ball to the outer lava and jumping on a rock. the follo disappears and nulifies all damage
- Hits the ground and greates a Fire Geyser/Volcano - tank must plug!
- Throws his weapon, forcing players to jump to the rock isles around the boss arena.
- Heavy fire attacks on tank
- Summons Stone Enemy that stuns and damages players with ground AOEs under them
Tank: Get aggro on boss, point away from group and wait for the Geyser. You MUST stand on this volcano to plug the damage or your party members will die. You can range-taunt the Fire Shalk, but it will put the fire ball on anyone. Make sure you are ready to exit the arena for the weapon throw
DPS: Single target on boss, then use a quick ultimate on the Fire Shalks. Be ready to jump out of the arena for the Lava Ball and Weapon Throw - and come back so before it disappears but not before the fire shield is gone. Sorcerers can streak through the fire wall - and charge ultimates from platforms. Use your ultimates to destroy Stone Atronachs as they spawn.
Healer: Heals for party members struck by the stone enemy AOEs will be necessary. The tank will take most of the heals otherwise, but you can help the DPS get rid of the adds and in the execute phase.
Gherig Bullblood (and attendants)
Level: CP 160
HP:
Strategy:
This boss is actually rather easy - all you have to do is be mindful of the kill order. After the fight, a chest will spawn and the same arena will be used for the final boss.
Mechanics:
- Attendant of Fire is a minotaur that chains, stuns and one-shots two allies - interrupt him, and have the two chained people roll out of the ground aoe.
- Gherig Bullblood is a Dragonknight and will chain you to him
- Gherig has a strong AOE that needs to be kept away from the DPS
- The attendant of blood is a healer
Tank: Get aggro on all three bosses. The healer won't move, and Gherig has an aoe, so you will want to keep the Attendant of Blood and Gherig to the side while the DPS take on the Attendant of Fire. Be on call to interrupt the Attendant of Flame if your allies are caught
DPS: Kill order is Attendant of Flame > Attendant of Blood > Gherig. The first one must go because of his stun / one-shot kill mechanic. The Attendant of Blood is next as she has low health. Make sure to use your strong single target DPS on the minotaur and call out when people are rooted/chained. Interrupt the minotaur and roll out of the ground AOE.
Healer: Keeping the tank alive will be rather easy - so you can help with DPS on the minotaur and be on call for interrupts and revives if anyone gets killed.
Earthgore Amalgam
Level: CP 160
HP:
Strategy:
This is a challenging coordination-focused attempt. If you bypass hard mode, you will have some extra help and less health on the boss, which is recommended as it's not necessary for the achivements.
Positioning for this fight: One DPS on each pillar, tank and healer in the middle towards the edge of the arena. DPS must be ranged for this to work!
Kill order: Dispatch of the adds first, but if you are not done with boss replica N.2 when N3 spawns: target that one and defeat it asap!
Mechanics:
- Lava AOE: The boss does a special animation and throws a "lava pool" to any party member' The pool goes past the member for a certain distance, and then grows to be a patch that will "volcano" fire balls to anyone around them, stunning them and damaging them. These only go away if you use the "Blood" pillar and target it to rain on the lava pool.
- Stone Pounding: The boss gains a damage immunity shield and pounds the ground for a 360 AOE, which then causes pieces of the ceiling to come falling down on all party members. You must dodge all attacks, and can only interrupt this if you use the "Flame" pillar and hit the boss with it as it channels.
- Adds: The boss creates two extra adds that look slightly smaller than itself, but have large health pools and will double (and triple) the lava and pounding mechanics
Tank: Get aggro on the boss and take him to the door or an edge. Make sure to be ready to block his AOEs, and move away as the first Lava Pool spawns. Keep the boss in range for both the Blood Rain and the Stone stuns your allies will work on. Pre-arrange to move clock-wise if things get out of control. Be ready to get the two adds when they spawn so they don't kill your party.
DPS: Kill order is Third Copy > Second Copy > Main Boss. The "Blood Rain" pillar DPS should be ready to target the blood rain and get rid of lava pools as they spawn. If one spawns under you, simply move away until the pillar is ready then come back shielded and healed to get rid of it ASAP. The other DPS will man the "Flame" pillar. Watch for the boss ground pound and activate the channeled cast immediately. This takes a bit of time to channel so be ready to roll out of the aoe damage under you!
Healer: The tank should not be too difficult to keep alive, but the DPS may be getting hit rather hard if they get an ad on them. Be ready with your heals to save those situations!
Trivia
- Dungeon Gallery


Bloodroot Forge Information
- Location: Craglorn
- Suggested Level: CP 160
- Final Boss: Earthgore Amalgam
Achievements
Quests
- Blood for Blood
- Bloodroot Forge Pledge
Bloodroot Forge Map


Bosses
- Mathgamain
- Caillaoife
- Stoneheart
- Galchobhar
- Gherig Bullblood
- Earthgore Amalgam
Set Drop
NPCs in the area
Notable Items
- 3 Lorebooks
Enemies
- Strangler (Poison AOE)
- Fire Shalk (One-Shot Fire Balls)
- Dreadhorn Earthgorer (Creates Fire Geyser)
- Dreadhorn Firehide (Roots and One-Shots, Interrupt!)